

Quilting a Quilt Bigger than the Frame
An IQ owner posted to the IQ yahoo list that she needed to quilt a top that was 120" x 120" - her machine frame is not big enough to accommodate a quilt this size. However, with IQ a quilt larger than the frame can be quilted. How much larger is yet to be determined, but in this case the machine frame could handle quilting 110" across.
Contents
- Set Up the Design
- Split the Design
- Quilt the Partial Patterns
- Turn the Quilt
- Stitch the Remaining Patterns
Set Up the Design
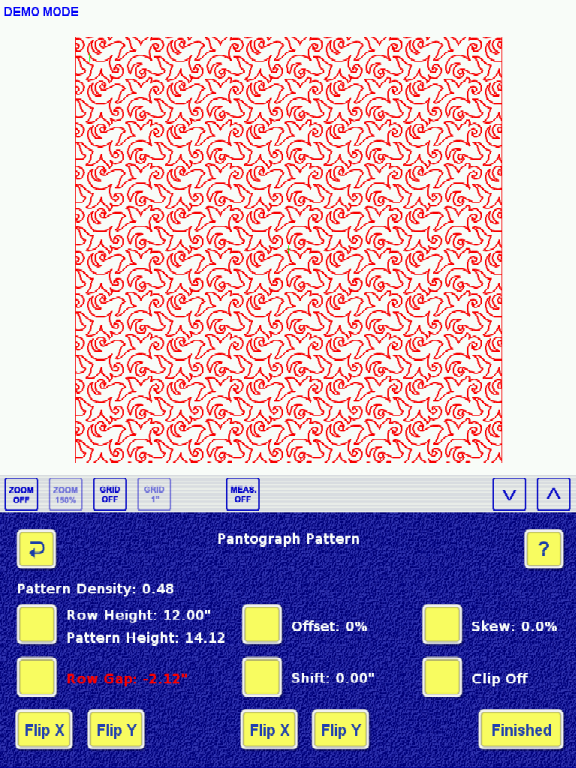
A panto will be used to demonstrate this process. Set up the design as usual (see also Pantograph, using the real quilt's dimensions (in this example, 120" x 120").
Split the Design
Once the design is set up, use the Split Pattern(s) function to split the patterns into two halves. One half will be quilted horizontally, and the other half will be quilted vertically. In this example, the IQ user would split the design about 110" from the edge. The screenshots below demonstrate the steps used:
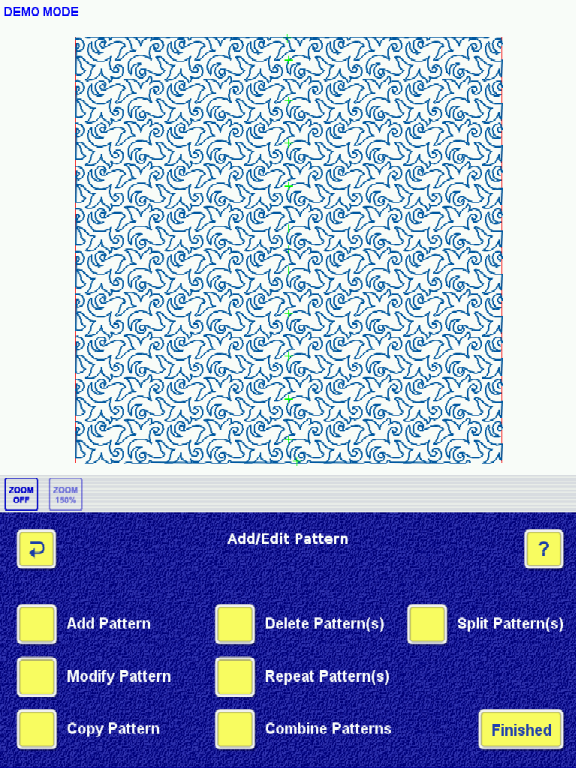
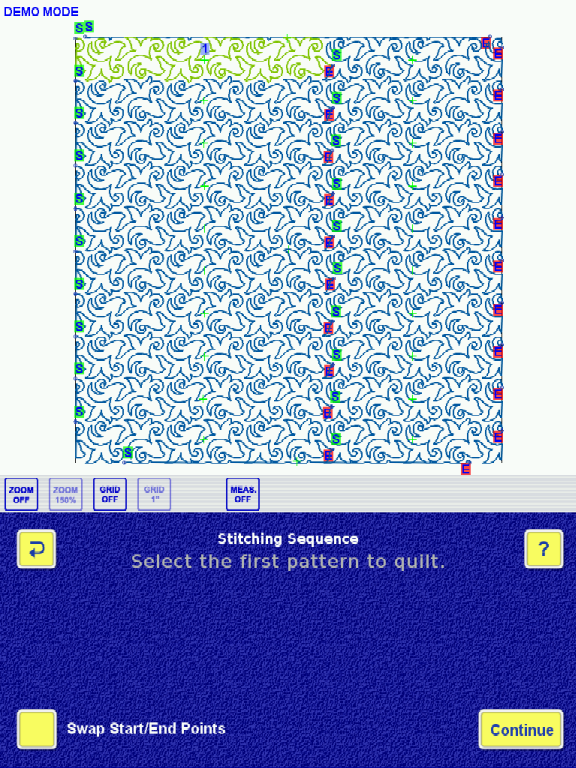
1. Go into Add/Edit Pattern > Split Pattern(s):
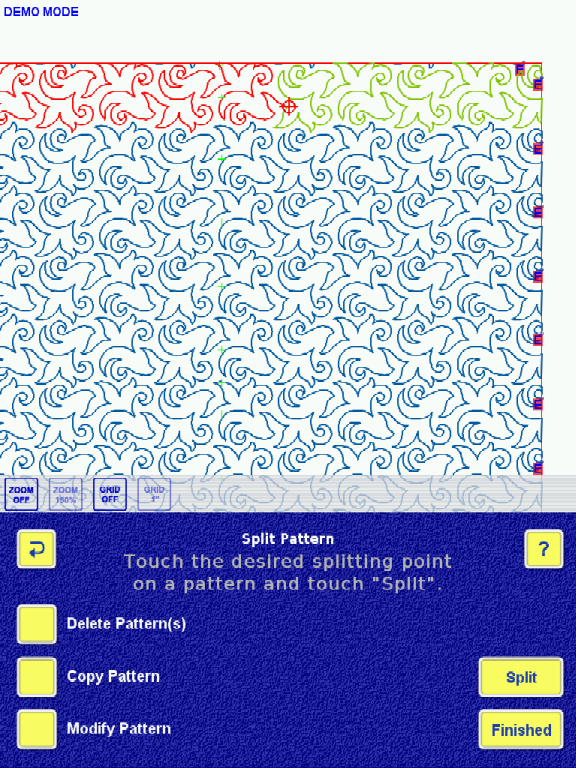
2. Choose the splitting point by touching the pattern at the point where it should be cut. In the example above, the user would split the pattern 110" from the left edge.
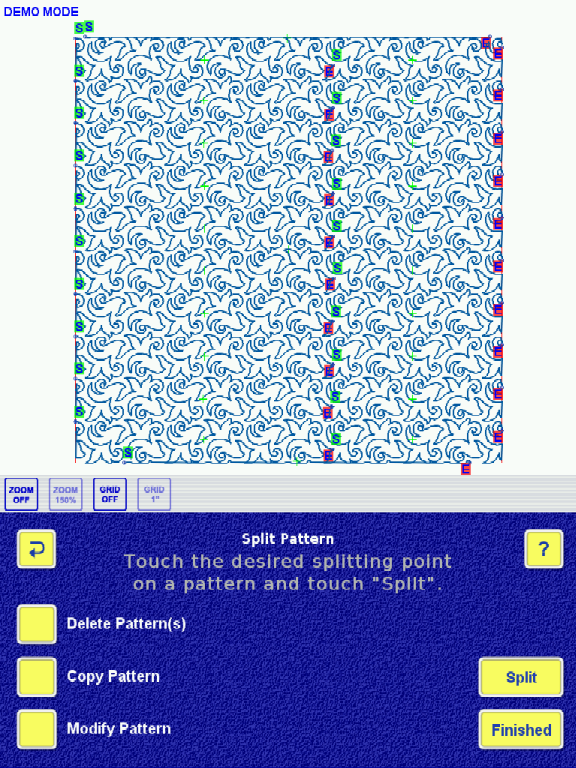
3. To save time, split all the patterns in one Split Pattern(s) session. To do this, simply touch Split once the target is properly placed. Then go to the next pattern, place the target by touching the pattern where it should be cut, and touch Split. Repeat until all patterns are split.
4. SAVE THE QUILT.
Quilt the Partial Patterns
Now that the patterns have been split, quilt the larger portions of the designs. Do all of them, because when they're completed, you will be turning the quilt to finish up the missing parts.
Turn the Quilt
Once all the partial patterns have been quilted, turn the quilt with the unquilted part at the top edge. (you're rotating the quilt counter-clockwise, attaching the right side to the take-up roller)
Now you need to tell IQ how the quilt has changed position.
1. Touch Realign Quilt > Rotate Quilt CCW. This will rotate the entire quilt layout counter-clockwise. The orientation should now match the quilt on the machine.
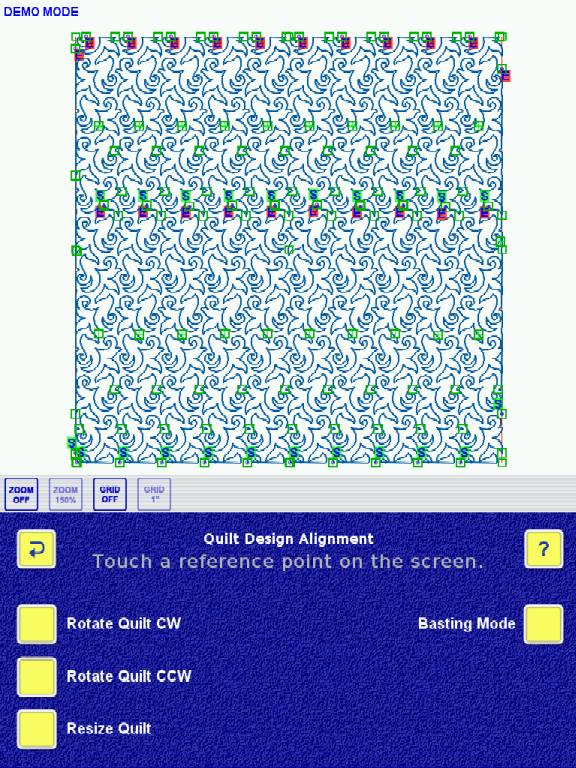
2. Align the quilt following the on-screen instructions. Align with the stopping point from the previous stitching (in theory, one could align with any point in the previously quilted patterns, but that statement hasn't been tested for accuracy).
Stitch the Remaining Patterns
Stitch the remaining patterns, which are now vertically oriented. It is probably prudent to realign with each vertical pattern just to be sure they line up properly.
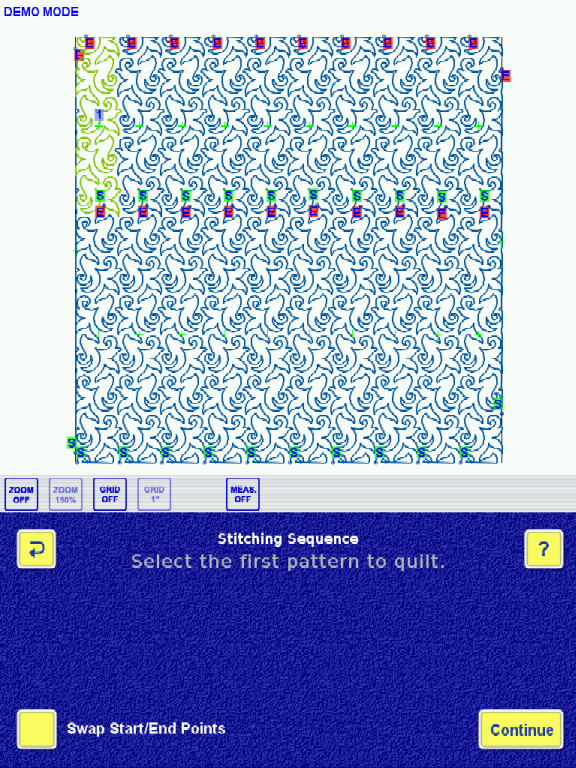
Depending on the quilt, you may be able to stitch all the patterns in one shot:
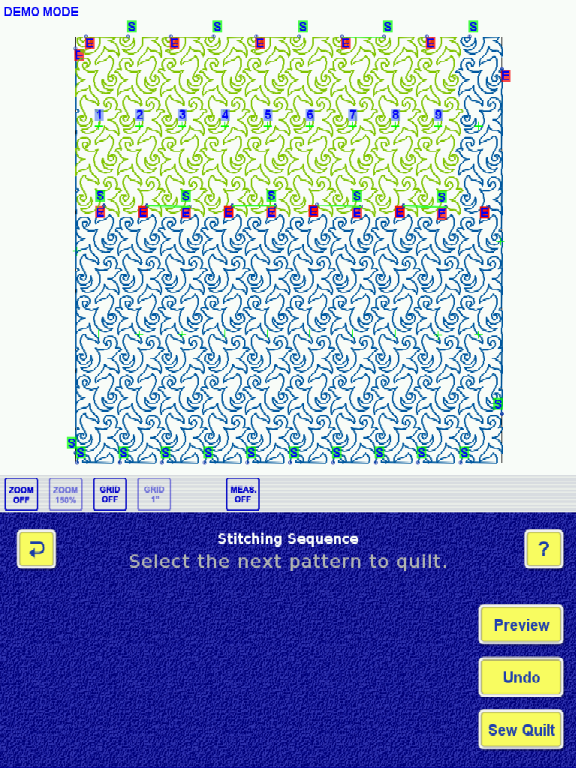
The screenshot above shows the sequence of quilting the designs. Realignment between each pattern may be necessary due to fabric shifting/shrinkage.
You may have to scoot the quilt over to one side to complete all of the vertical patterns. This is simply a matter of un-pinning the quilt and re-positioning it so that IQ can reach the rest of the quilt.