

Motor Alignment
Overview
Motor alignment is critical to the successful operation of the IntelliQuilter. Poorly aligned motors lead to excessive wear on the drive wheels and poor quality stitch-outs. Alignment will be required if the motors are removed from the machine for any reason, and if the Pattern Drift test shows mis-alignment. Follow the procedure below to properly align the motors. This procedure is applicable to both the X and Y motors.
Motor Alignment
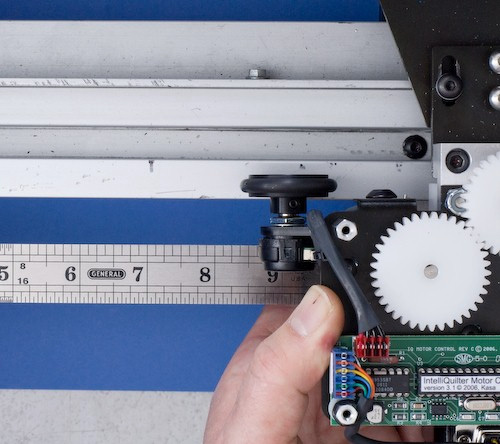
There should be a 0.04" (1mm) gap (about one credit card thickness) between the drive roller and the track when all the screws are fully tightened. Move the drive roller and sensor wheel in/out to achieve the best alignment. Make sure that the drive wheel is parallel with the top of the track.

It is very important that the drive wheels run parallel with the tracks. Any angular misalignment would cause damage to the rubber layer on the drive wheels. Use a long ruler to align the motor unit.
Push a long ruler against the motor mounting bracket as this bottom-view picture shows.
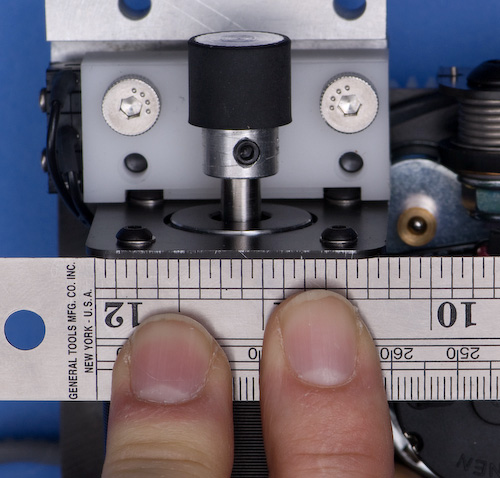
Rotate the motor unit until the ruler is parallel with the edge of the track.
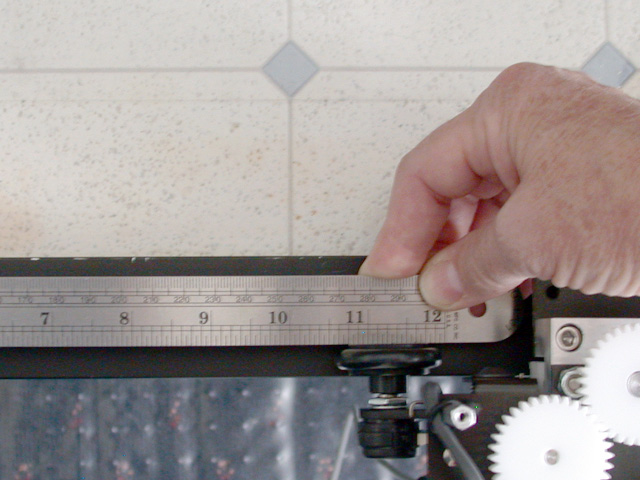
The properly aligned motor should align the sensor wheel also. To check this, place a long ruler at the side of the sensor wheel to determine whether it is parallel with the track. If not, you need to bend the sensor bracket physically to set the wheel parallel with the track.
Once the motor is aligned properly, carefully tighten the two screws that control motor rotation.